Installing Mods in ToolBox

In this guide, we'll cover how to install mods using the popular ToolBox launcher (addon) ToolBox. If you didn't know, starting with ToolBox 3.0, its special launcher added support for ModPE scripts, i.e., mods.
How to install a mod in ToolBox?
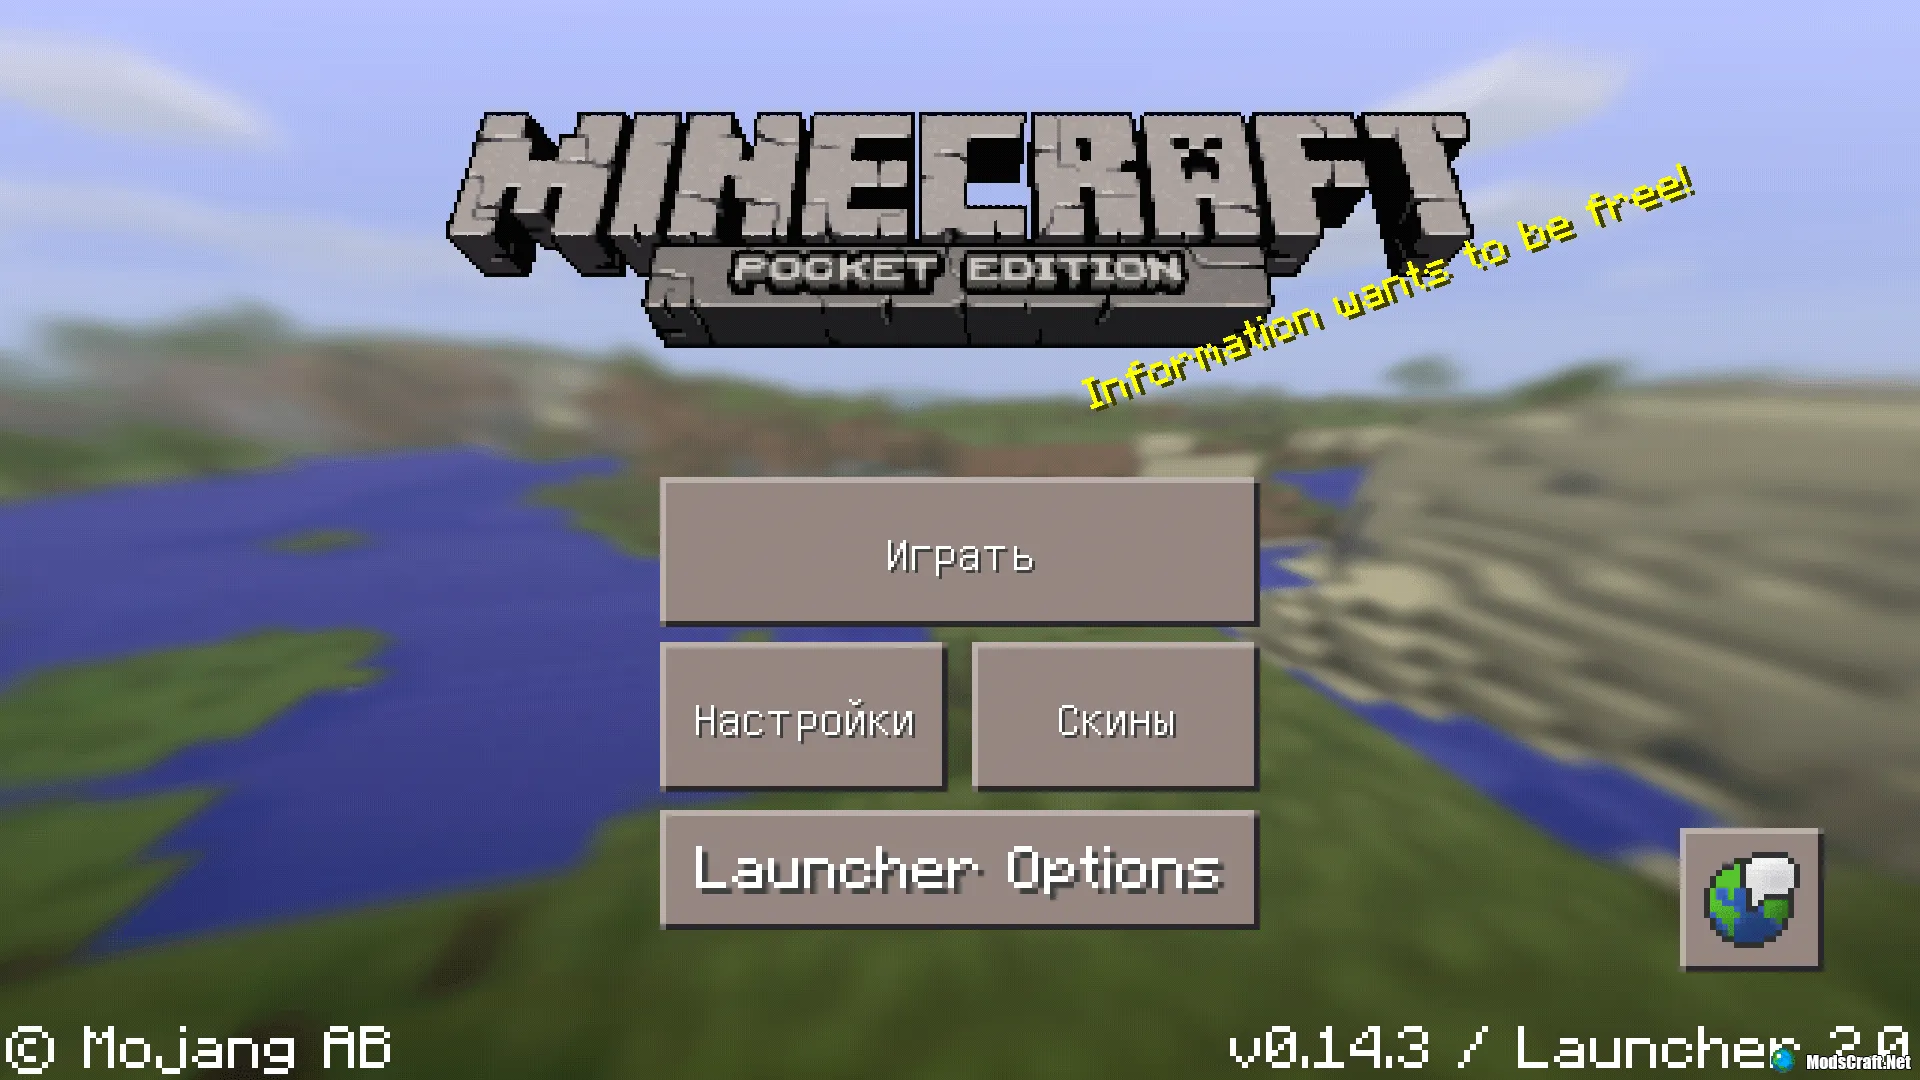
To do this, find the ToolBox app on your device and open it. The main menu of Minecraft Pocket Edition will appear. Here you should see a button labeled Launcher Options. Tap this button to enter the launcher settings.
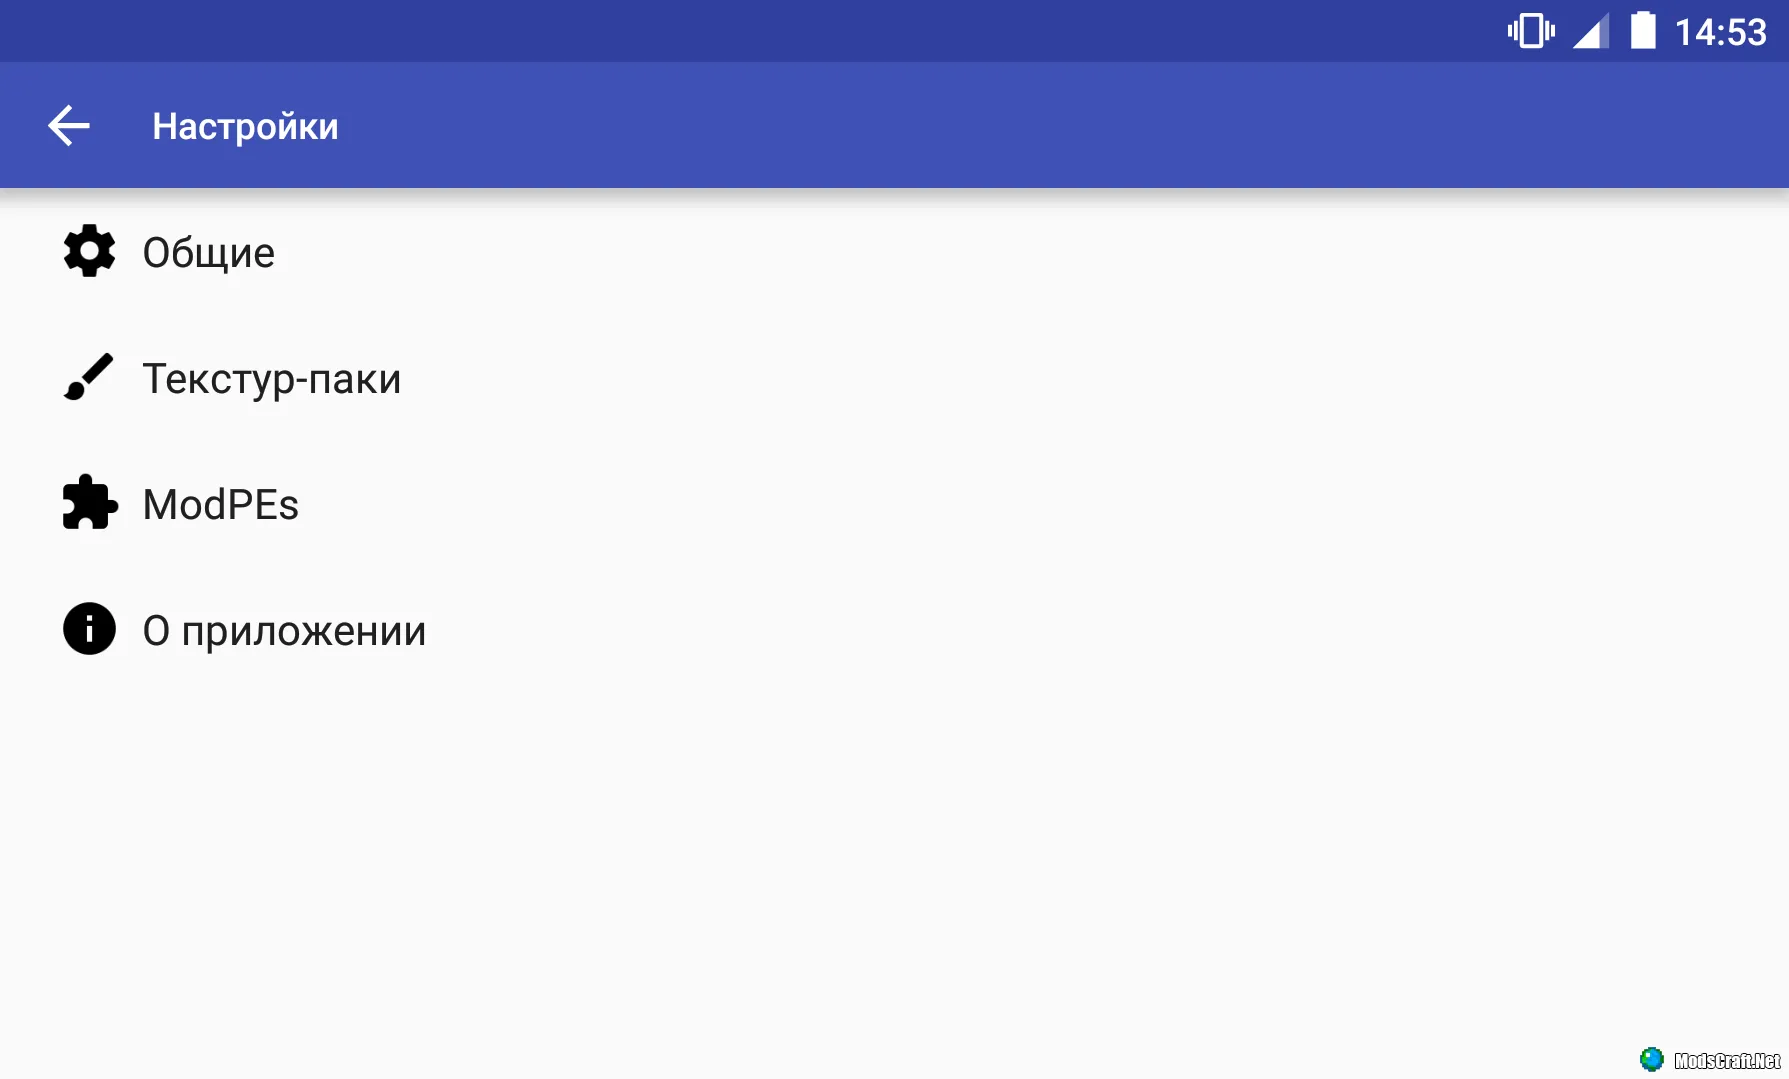
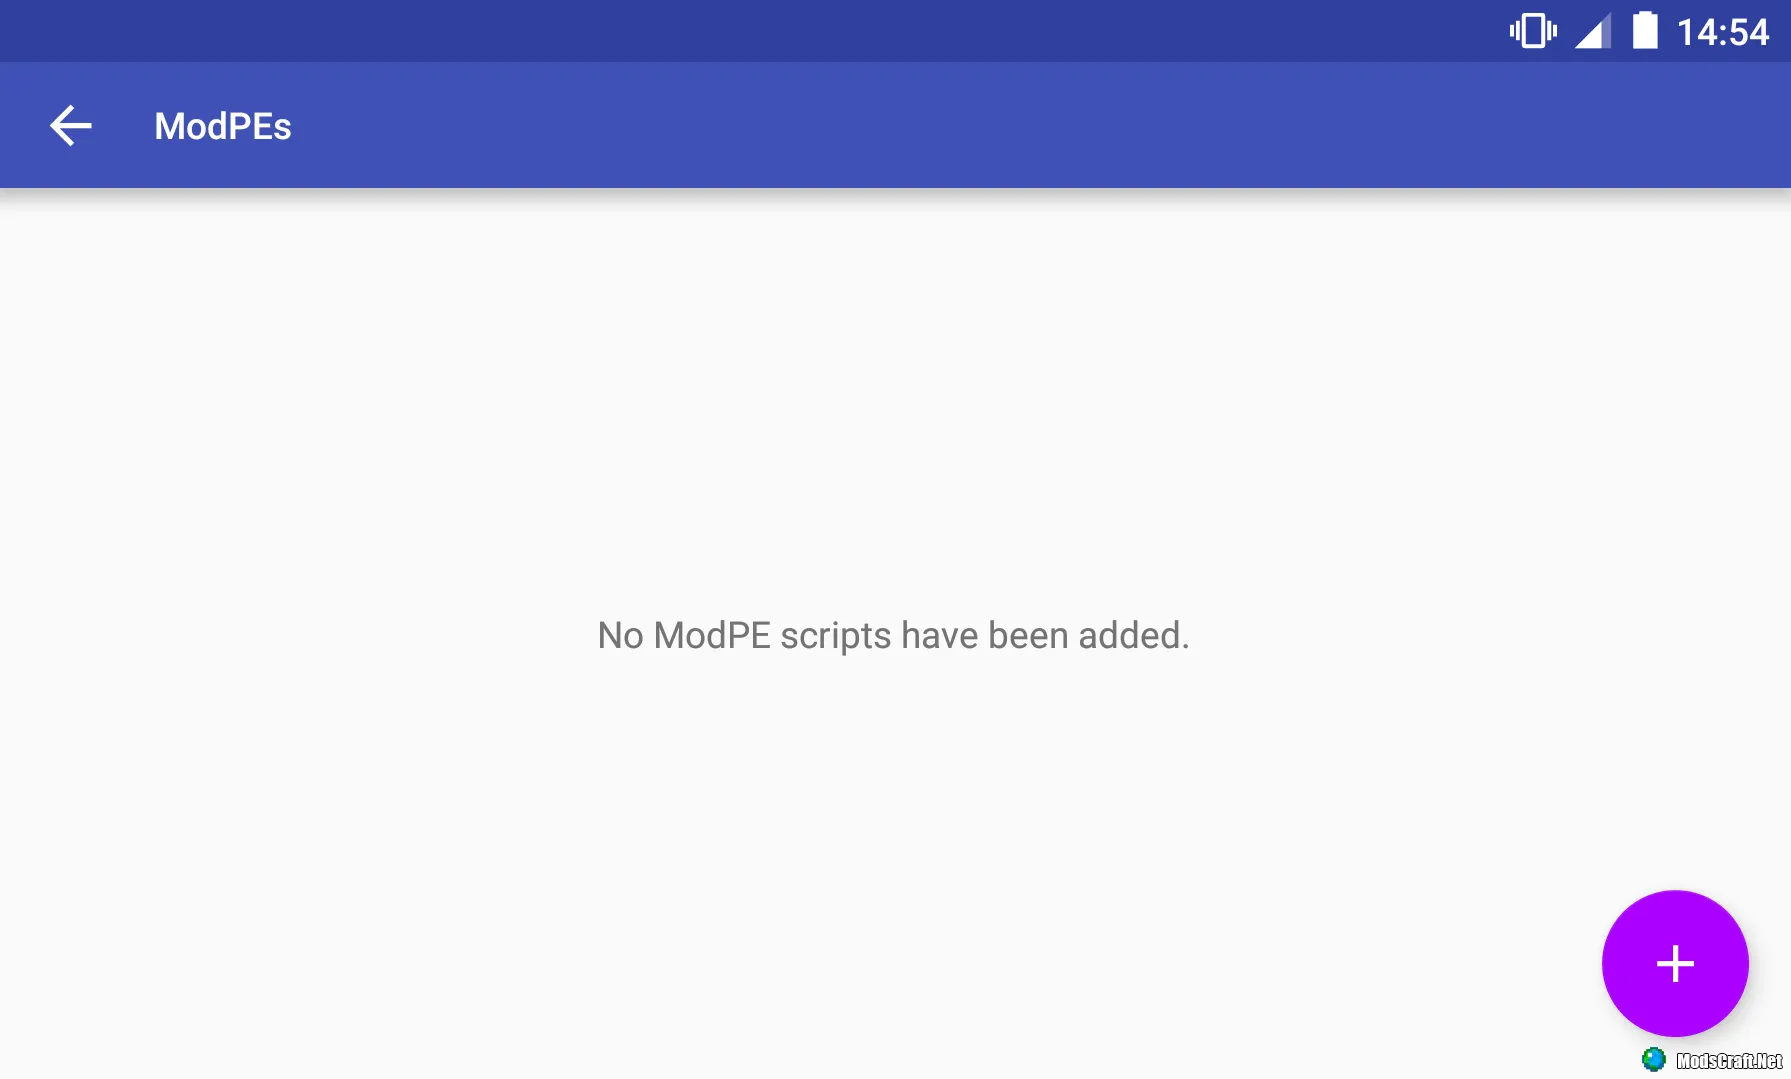
We are interested in the ModPEs option. Tap this button and the script manager window will open. Here you can manage scripts. To add a mod, tap the + button.
Using ES File Explorer or another file manager, locate the mod file. Mod files can be in formats: .js or .modpkg. In my case, it's .modpkg.
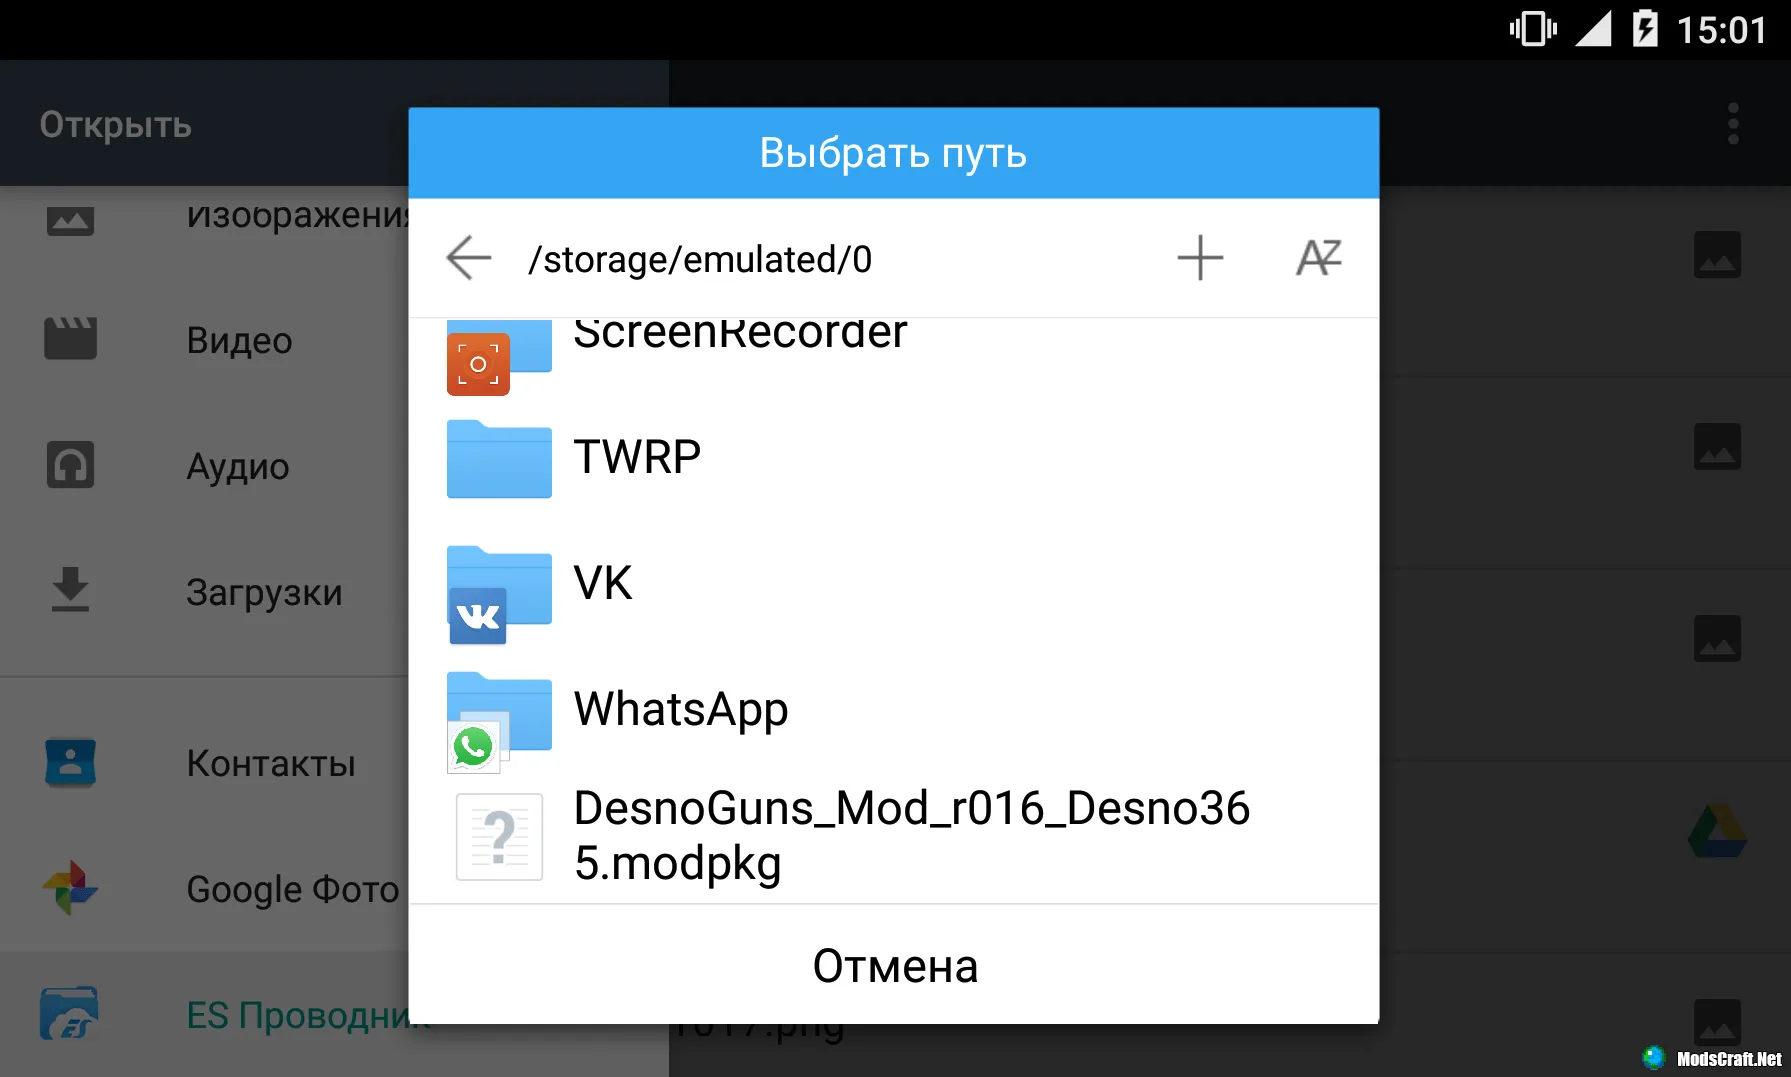
It's worth noting that mods in .modpkg format already include textures, etc., so you won't need to install a separate texture pack.
Once you tap the mod file, it will be added to ToolBox immediately. If there is a checkmark next to it, the mod is enabled. To disable the mod, simply uncheck it.
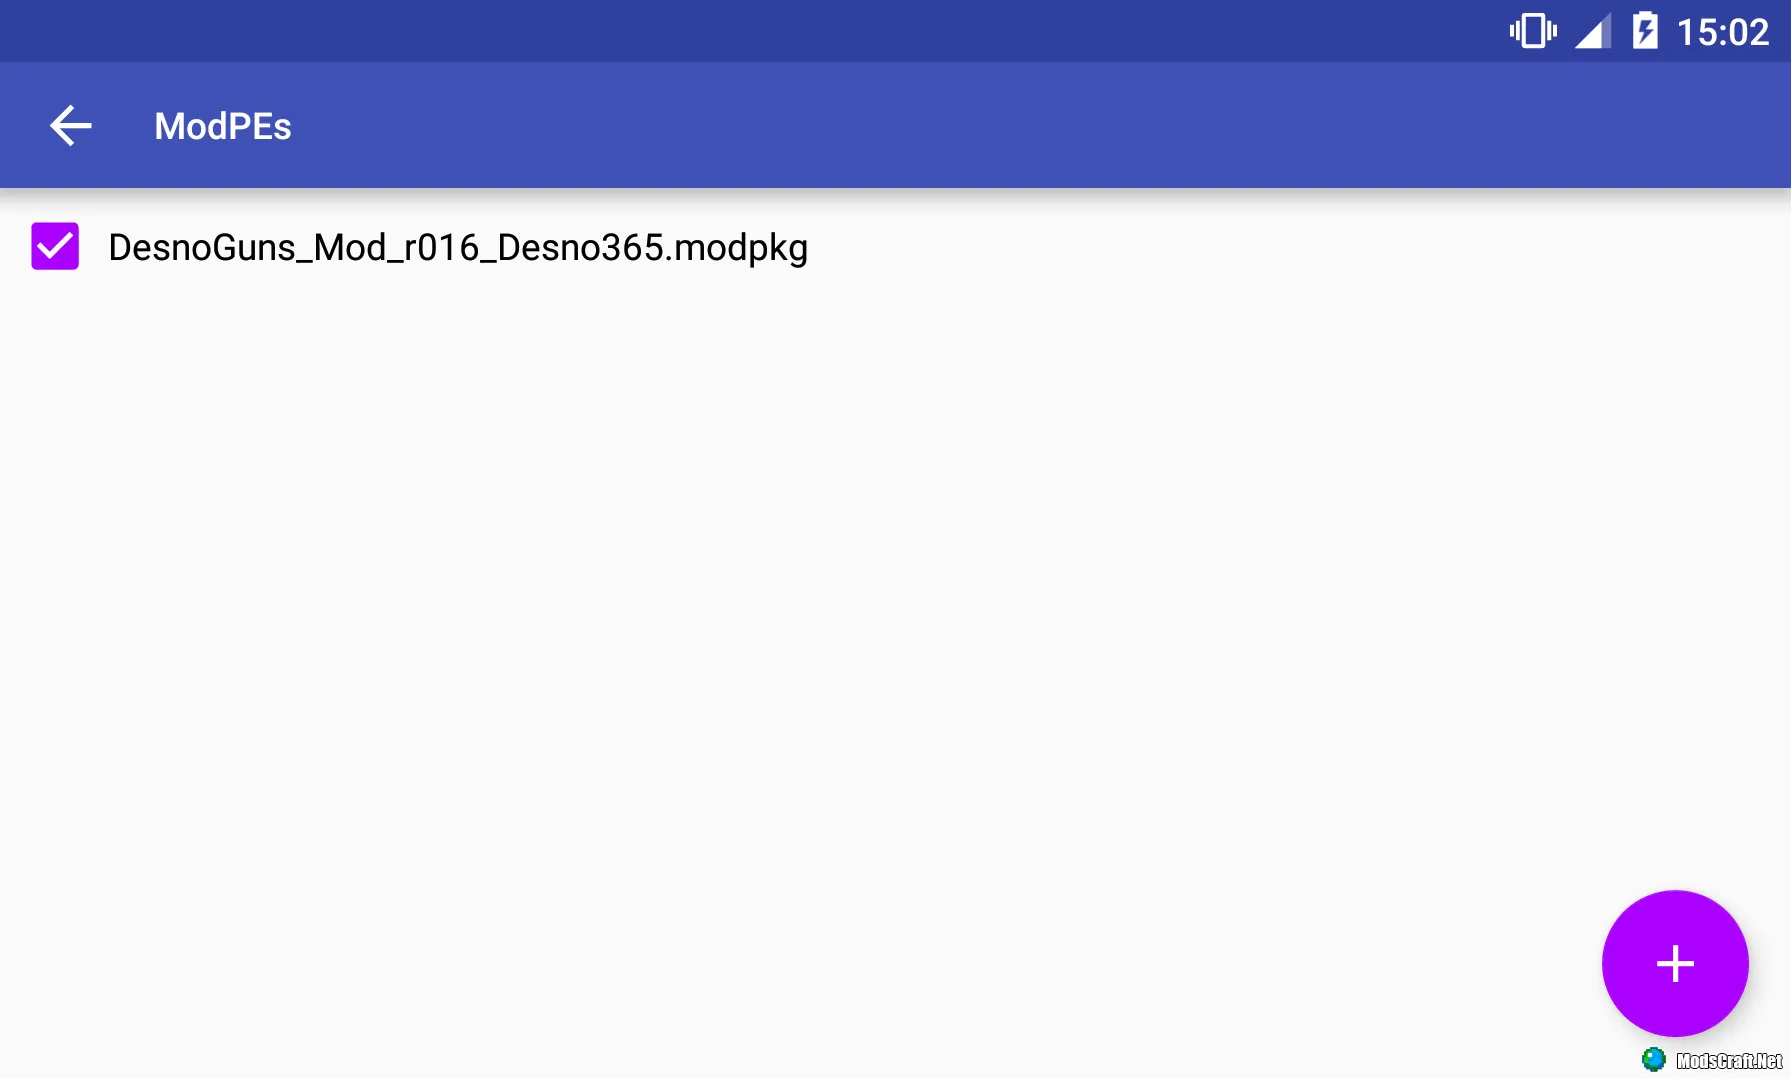
The mod is installed! All that's left is to restart the ToolBox launcher and the mod will automatically activate in the game =)
If the mod is in .js format and comes with a texture, you'll need to install the texture pack in ToolBox first, and then install the mod.