Creating a Minecraft Server

Creating your own Minecraft server is awesome! You can play with friends, add unique mods, and customize everything to your liking. In this simple guide, we'll show you how to make a server yourself. There are several methods, and we'll cover each one in detail.
Navigation
- Which method to choose?
- Ready-made solutions (Java and Bedrock)
- Self-hosted for Java
- Self-hosted for Bedrock
- What about other options?
Which method to choose?
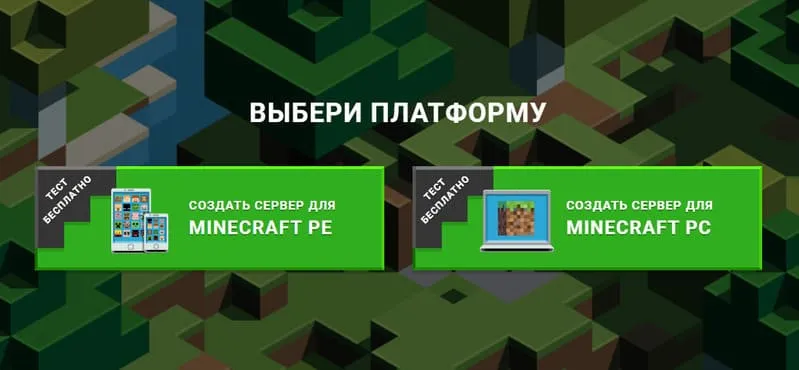
The easiest method is to use specialized hosting. A similar option is to use the ready-made solution Realms from the official developers, which is a bit more expensive and allows you to download ready-made maps for Bedrock. These two options work for both Java and Bedrock.
A free but more complex option is to set up a server yourself on Windows (instructions for Java or Bedrock). To keep the server running 24/7 instead of only when your computer is on, set up a paid rented server on Linux (instructions for Java or Bedrock).
If you're looking for a faster way to start playing with friends, you can join an existing server. To choose a popular server, we recommend checking out the server rating at mineserv.top.
Ready-made solutions (Java and Bedrock)
Specialized hosting
The simplest and most convenient option. Choose a hosting provider and rent a server. The first launch requires no setup. The user-friendly interface lets you quickly configure plugins. For example, you can try the popular server hosting mcpehost.ru.
Realms
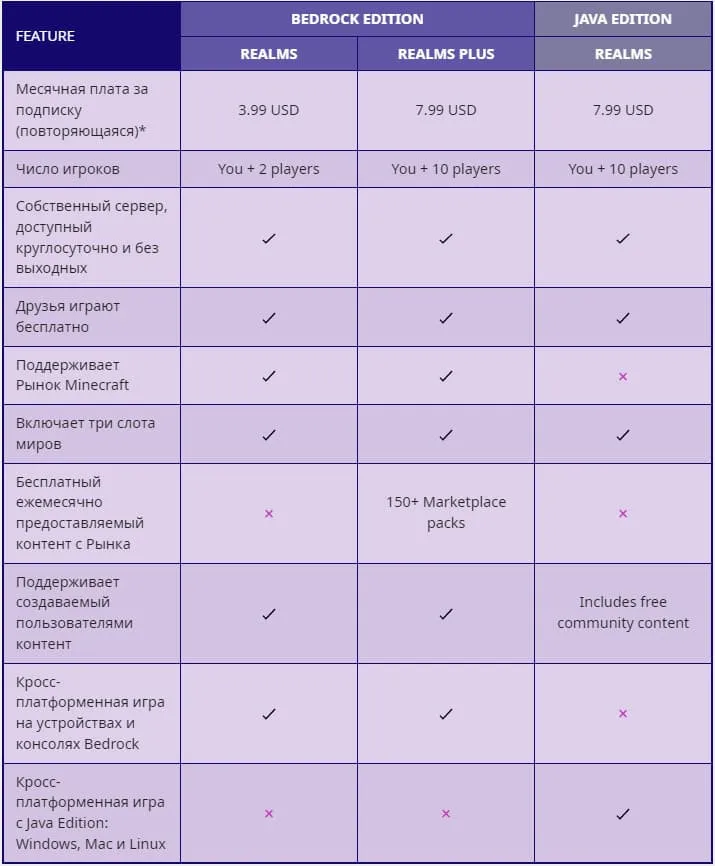
The second most convenient method is Realms from the official developers. It's a paid subscription that also requires a licensed Minecraft account. More details about Realms pricing in the table below.
Self-hosted for Java
To have full control over your server, you can use manual setup instead of specialized hosting. You can set up a server for free directly on Windows, or on Linux if you want the server to run 24/7.
Windows (without mods)
A free method that lets you play with friends, but the server will only run while your computer is on.
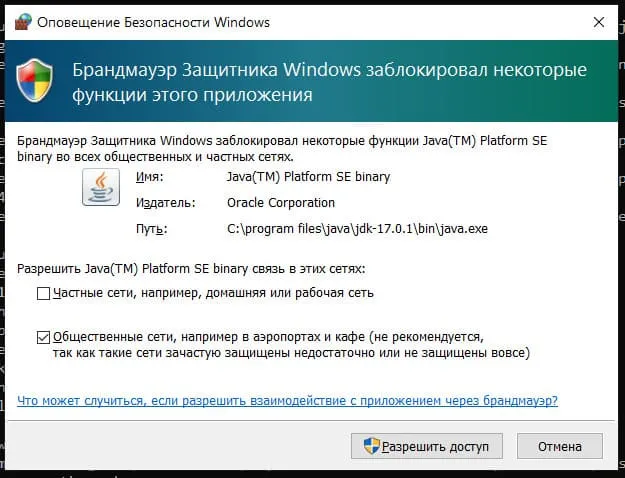
First, download and install Java if you haven't already. I recommend installing Java 17 right away.
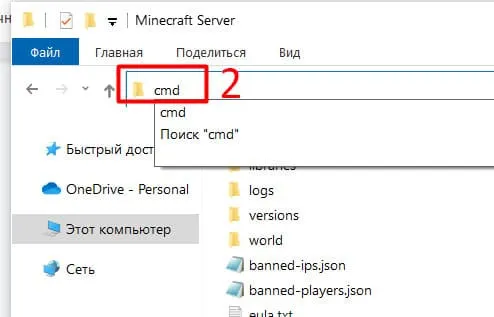
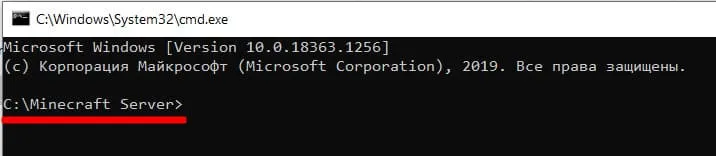
Next, download the server.jar from the official website. Create a folder on your computer, e.g., "Minecraft Server", and copy the file there. Open a command prompt in that folder and enter the following command:
java -Xmx1024M -Xms1024M -jar server.jar nogui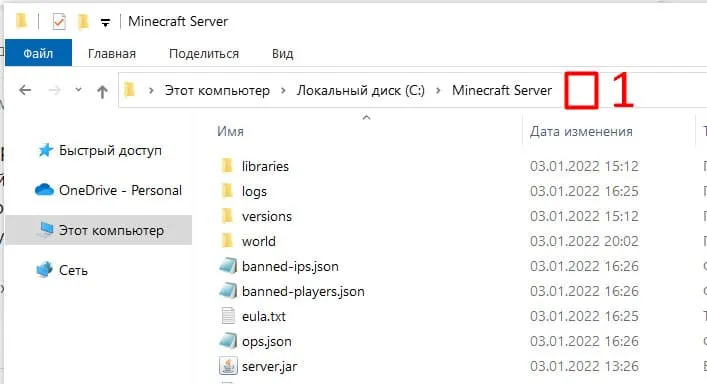
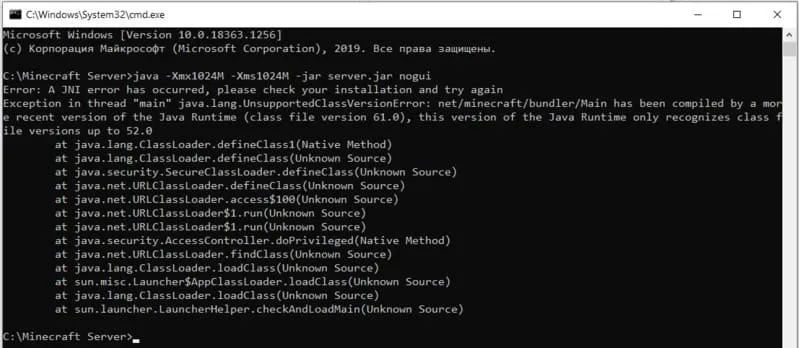
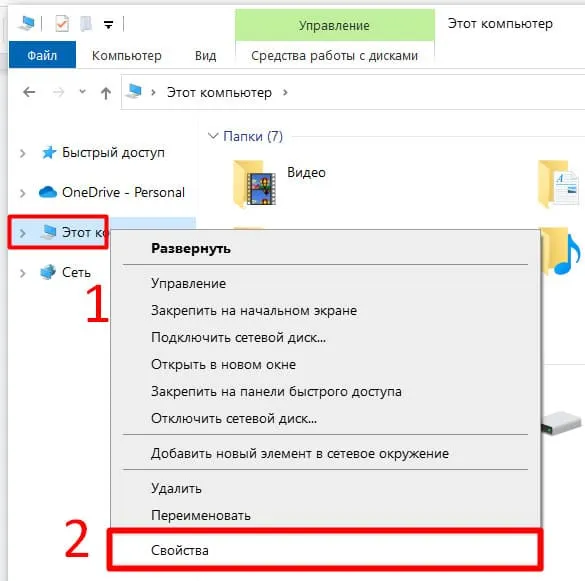
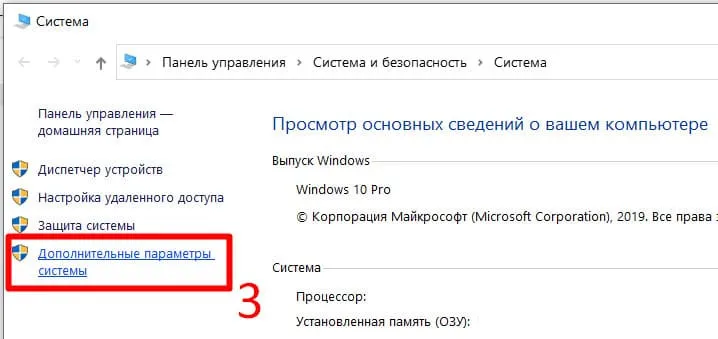
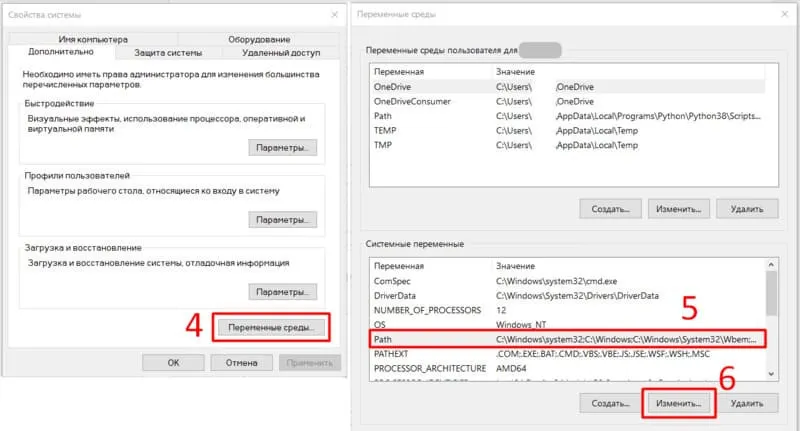
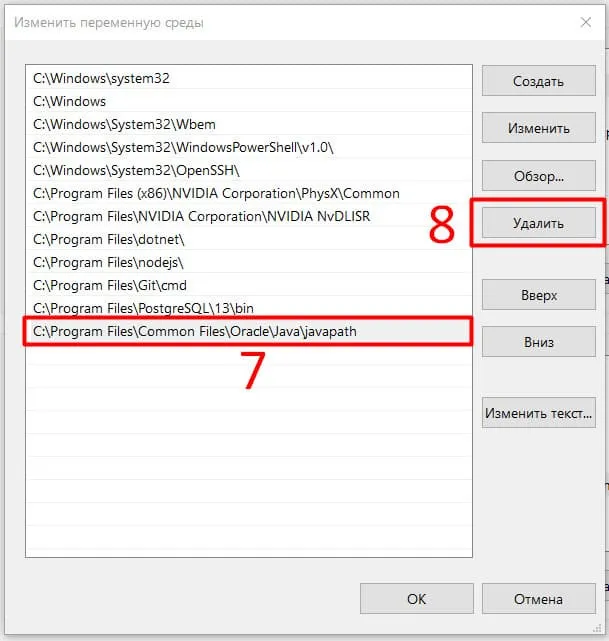
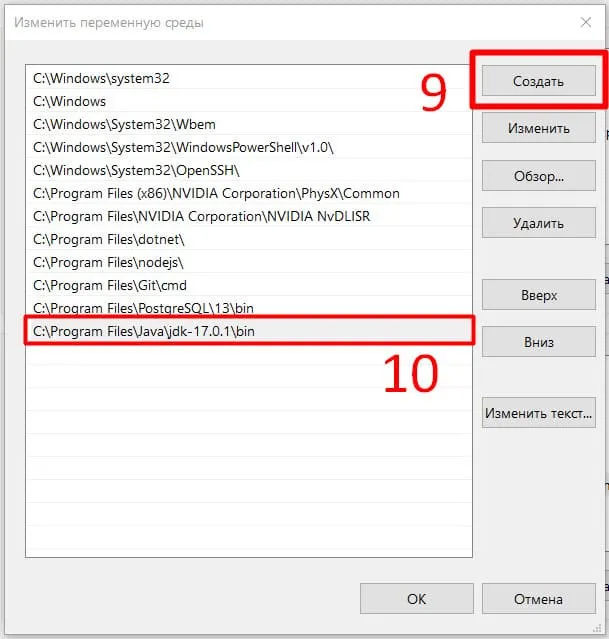
The first launch won't succeed, but new files will appear in the "Minecraft Server" folder. You need to do two things:
1. Open eula.txt and change the eula value from false to true, thereby accepting the EULA from the developers.
2. Open server.properties and change the online-mode value from true to false, thereby allowing connections to the server without a license.
Run the command above again. If no issues arise, the server will be ready for connection.
Linux
A similar option, but this time you'll need a rented VPS or dedicated server. The game server will run even when your computer is off.
We'll cover setting up a server on Ubuntu and CentOS. Recommended OS versions:
- Ubuntu
- For versions below 1.17: Ubuntu 18.04
- For versions 1.17 and above: Ubuntu Server 20.04 LTS
- CentOS 7
Connect to the server, for example using Putty.
Check if Java is installed on the server:
java -versionIf not, run the following commands for Ubuntu:
- For versions below 1.17:
sudo apt update; sudo apt-get install openjdk-8-jdk-headless - For versions 1.17 and above:
sudo apt update; sudo apt install openjdk-16-jdk-headless
Or these commands for CentOS:
sudo yum update; sudo yum install java -yAfter successfully installing Java, install Screen - a program that allows the server to run without an open console. Ubuntu:
sudo apt-get install screenCentOS:
sudo yum install screen -yYou'll need wget, install on Ubuntu:
sudo apt-get install wgetOn CentOS:
sudo yum install wget -yLet's start installing the server. Create a separate folder for the server:
mkdir minecraftserverOpen the folder:
cd minecraftserverOpen this page from the official website and copy the link to server.jar.
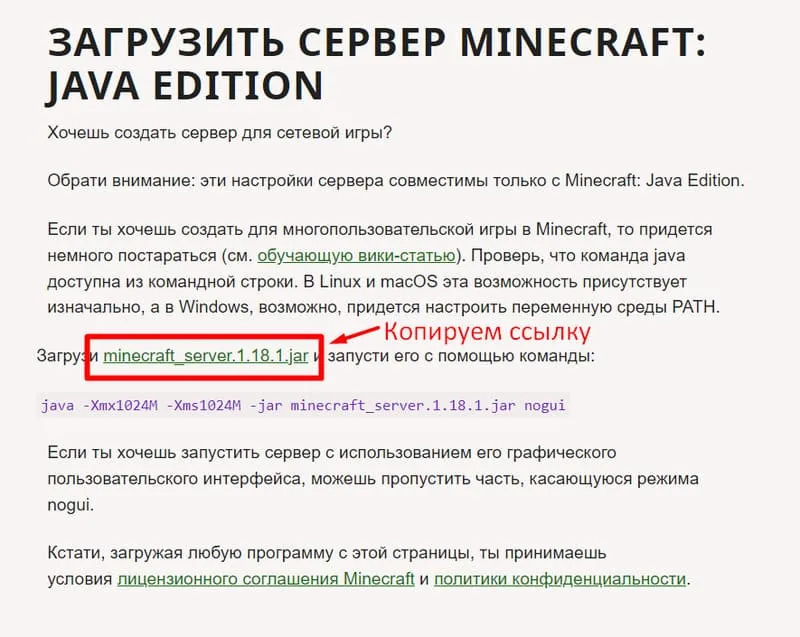
Enter the following command:
wget [link]Activate Screen and continue working in it:
screen -S "MinecraftServer1"Try to run the downloaded server.jar file:
java -Xmx1024M -Xms1024M -jar server.jar noguiThe first launch won't succeed, but new files will appear in the "Minecraft Server" folder. You need to do two things:
1. Open eula.txt and change the eula value from false to true, thereby accepting the EULA from the developers.
2. Open server.properties and change the online-mode value from true to false, thereby allowing connections to the server without a license.
You can do this using any file editor in the terminal or via FTP connection (e.g., FileZilla).
After making the changes, try to run server.jar again. If the server starts successfully in the console, you can close the console and start playing.
Self-hosted for Bedrock
So far we've covered only the official option. The first step is to download the archive for Windows or Linux: Ubuntu from here. Note that the build is in alpha testing.
We haven't thoroughly tested these methods. If you encounter issues, ask for help in the comments.
Windows
Download the archive for Windows. Extract it to a convenient location. Run the bedrock_server.exe file.
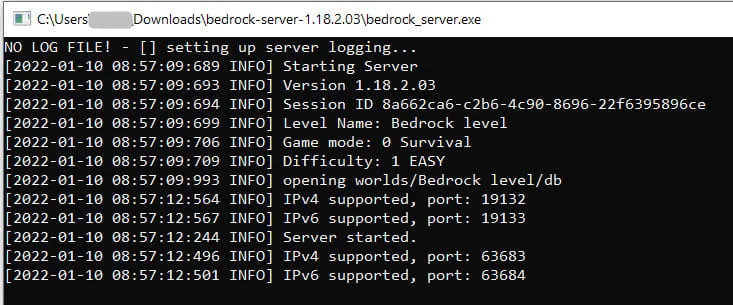
That's it! The server is running. Note that the server will only work while your computer is on.
For configuration, the archive contains the server.properties file and the bedrock_server_how_to.html guide.
Linux: Ubuntu
The second option, where you don't need to keep your computer on. A VPS or dedicated server is suitable, but you'll need to pay for it.
Download the archive for Ubuntu. Extract it to a convenient location. Start the server with the following command:
LD_LIBRARY_PATH=../bedrock_serverThat's it! The server is running. Don't forget to use screen, as in this guide.
For configuration, the archive contains the server.properties file and the bedrock_server_how_to.html guide.
What about other options?
Yes, we haven't covered all options. In the future, this article will be updated, and we'll cover how to set up a server:
- For Windows with mods
- On unofficial cores